Let’s say we need to host some files for friends to access or host an application on our VPS that doesn’t have built-in authentication. In that case, we can use Nginx’s built-in authentication to add basic authentication to our files or apps.
To use Nginx authentication, we first need to install Nginx. Nginx can be downloaded from https://nginx.org/en/download.html.
Once Nginx is up and running, we need to create a basic Nginx configuration file to authenticate access to the resources.
For example, I have hosted a web video on my VPS. The video is located at /root/temp, and I want my friends to access it. So, first, I will create a simple Nginx configuration file to access the video. I am updating a pre-existing Nginx configuration file to include the following code:
location /temp/ {
    root /root;
    autoindex on;
}
Now I can go to ip:/temp/ to access the video.
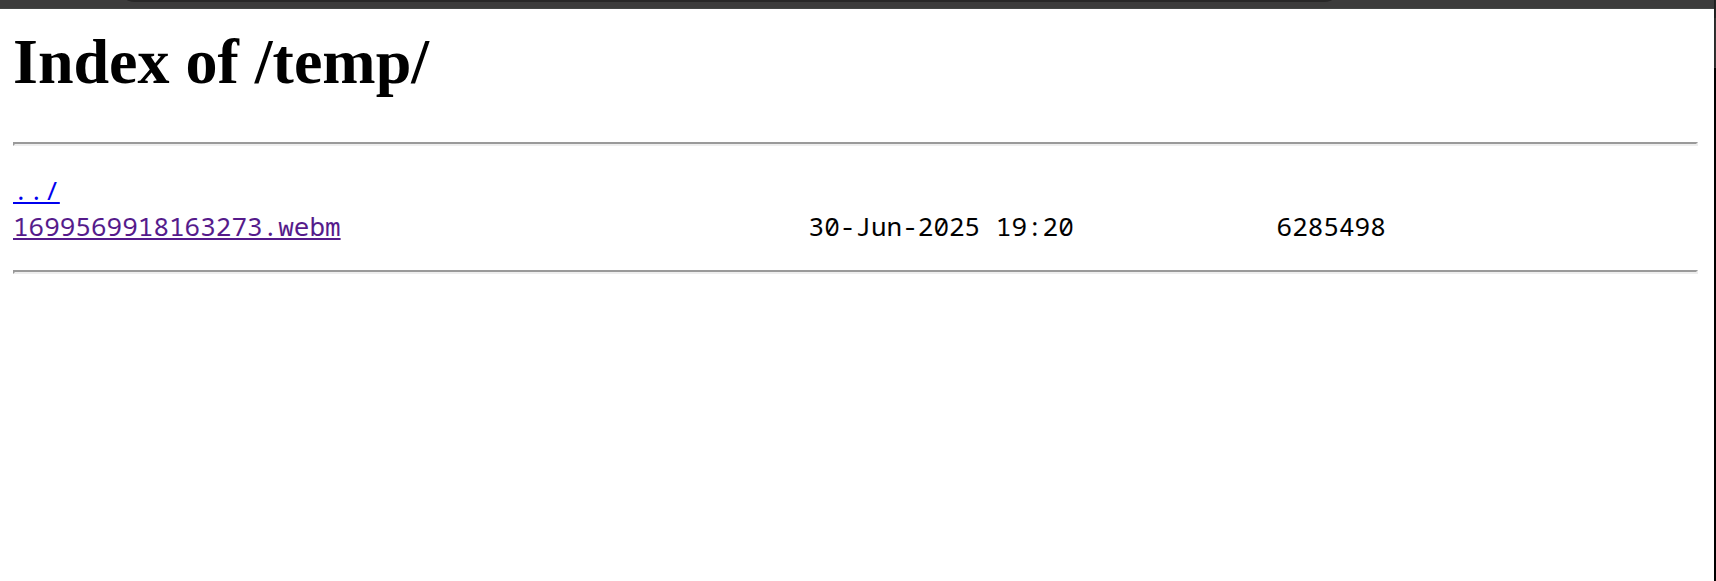

The video is exposed to the world. Anyone with bit of tikering or the URL can access it. Lets add a layer of authentication so that only users with correct username and password can access it.
- Install
apache2-utilspackage from the repository. - Once installed, run command
sudo htpasswd -c /etc/nginx/.htpasswd username. Enter the password and confirm the password. - Update the nginx configuration file to add the following two lines to the nginx snippet:
location /temp/ {
    root /root;
    auth_basic "Restricted Access";
    auth_basic_user_file /etc/nginx/.htpasswd;
    autoindex on;
}- Restart the server by running
systemctl restart nginx.
Now, if I try to access the same URL, I get a popup asking me to enter the username and password.
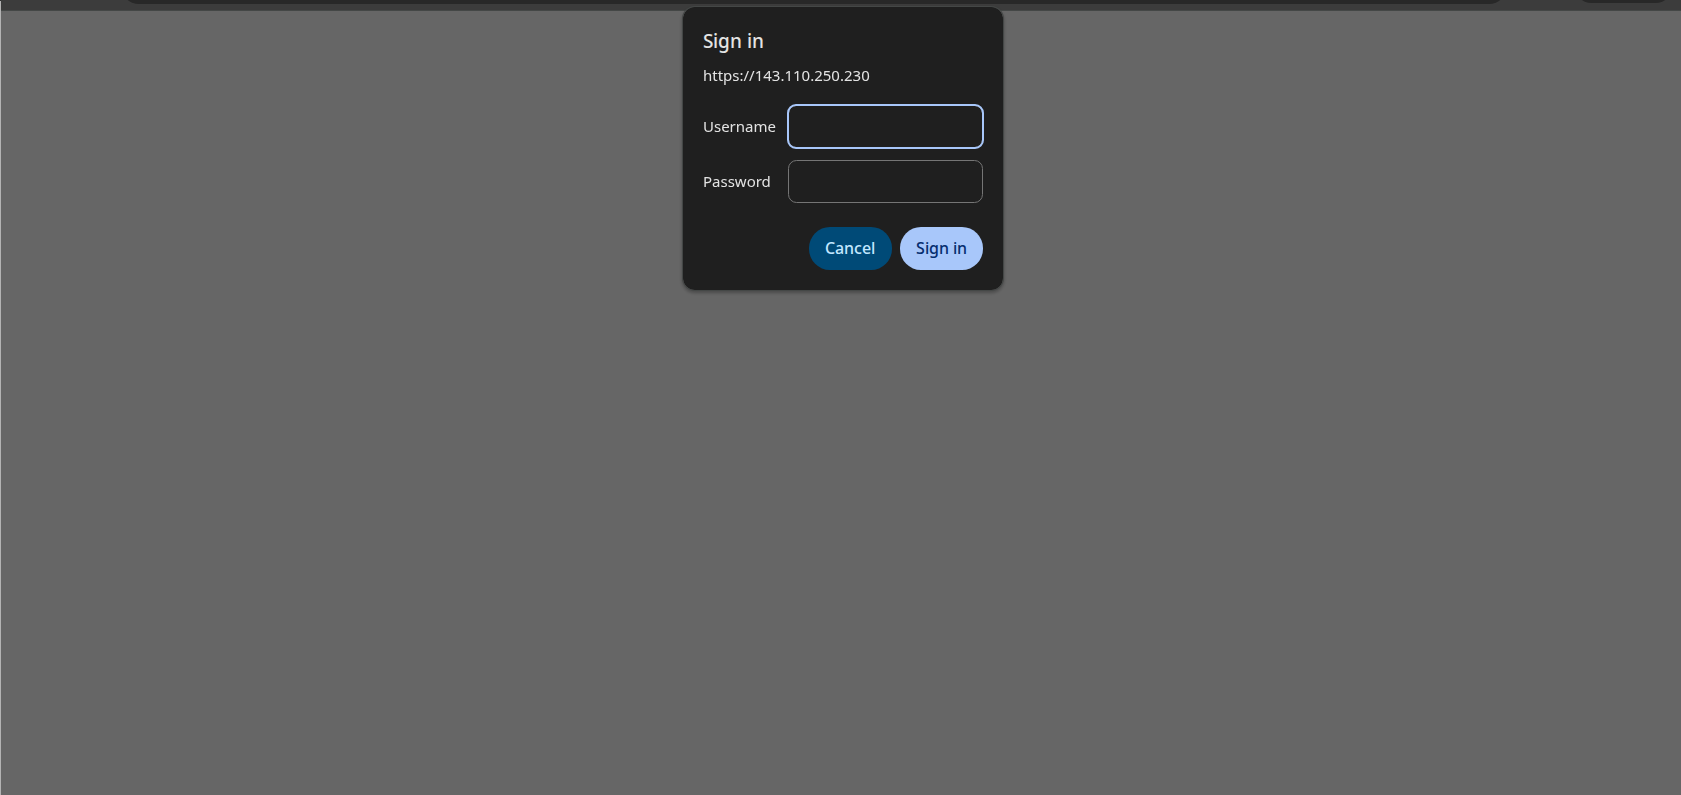
To access the video, go to https://143.110.250.230/temp/1699569918163273.webm
Username: wsg
Password: wsg
Please note that this is temporary, and the link might no longer be available when you read the blog.